

I love this time of year! I go straight from my fall/halloween high right into Christmas joy. I love baking and the music and the magic the season offten offers. But my favorite thing is when they forecast snow. I get that happy crazy feeling inside me and seriously cant sleep even if its a light dusting. We dont get snow like we did when I was little but every time it does snow its like magic, the world get so quiet. Snow also smells amazing, it smells cold and special. So while we patiently wait for our snow to come we make paper snowflakes from printer paper and dream. My kids love making them. Every snowflake just as different as the real ones. My house off ten looks like a blizzard hit it during the winter, so why not capture that fun more permanently?
So in all there awesomeness here are our snowflake shirts!

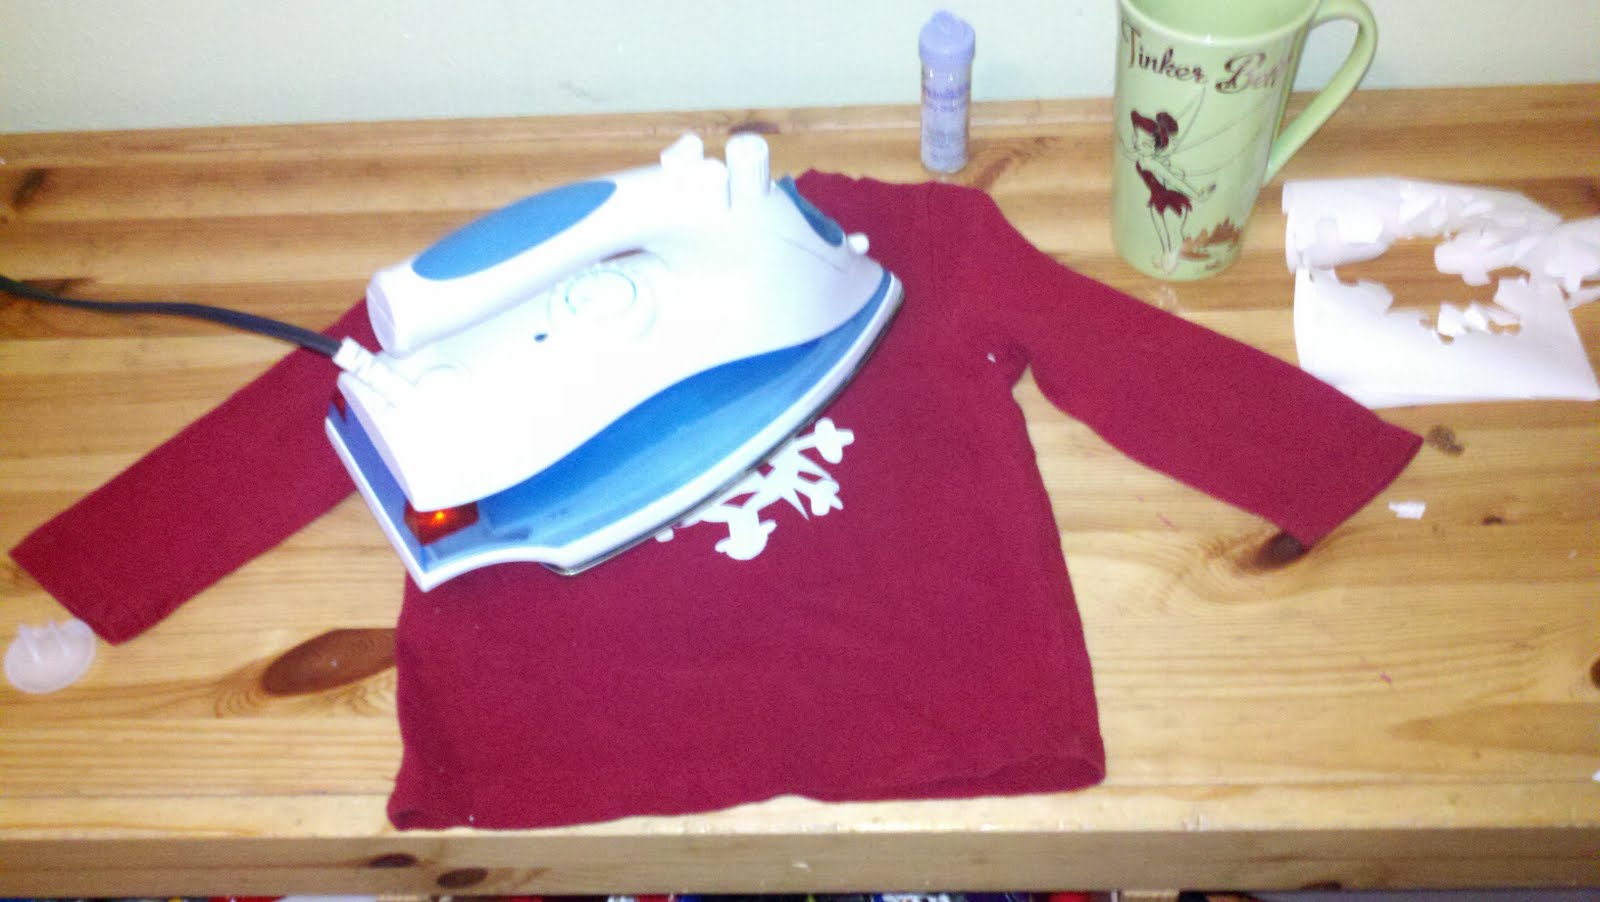
Here is what you need:
Heat and Bond
Glitter
scissors
an iron
and something to put it on (we did shirts but im doing hand towels and scarf for christmas)
Cut the head and bond into any size squares, fold in half then in half again (Ok im assuming you know how to make a paper snow flake but just in case lol)
Cut out your design, making sure not to cut off the folds.
See how pretty!

Now Lay on your shirt and iron over heat and bond (Iron on the paper side, just in case that wasnt apparent
When it cools, peal off the paper. You should be able to feel your snow flake.
)


Pour glitter on printer paper a little bigger then your snowflake and a pretty thick so the paper doesnt stick to your shirt

lay shirt down over glitter and iron on back. I ironed a little longer then I normally do since it was two layers.
I let it cool then lifted my shirt up and shook off the extra glitter

(NOTE: I HAVE SINCE FOUND THAT IF YOU PUT THE GLITTER ON YOUR SHIRT (NOT SHIRT ON GLITTER) AND IRON ON THE PAPER IT STICKS WAY WAY WAY BETTER)
TAAAA DAAAAA

Glittery snowflake and mine didnt come off in the wash!!!
(Note since you glitter in on the paper just slide the extra back in the tube for the next one!!)

And I bragged about myself here:


Those turned out amazing!! I'm so jealous of your awesomeness. :)
ReplyDeleteBy the way, I stumbled and pinned your post :) <3
ReplyDeleteWhat is stumbled? And I can not beleive they worked so well!
ReplyDeleteThose are really too cute, Well, I think I'm going to have to add this one to my holiday sewing list, It is so easy to make without cutting any corners.
ReplyDeleteWhat an awesome idea, that turned out way cute!
ReplyDelete